Graphic Specification
Graphic Service
Price: $85 per hour Estimated design time will be provided to you prior to start of your project.
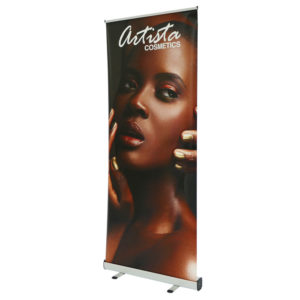
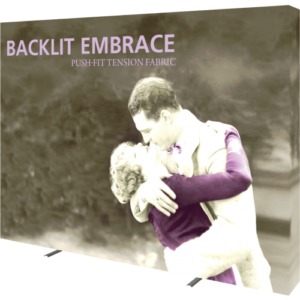
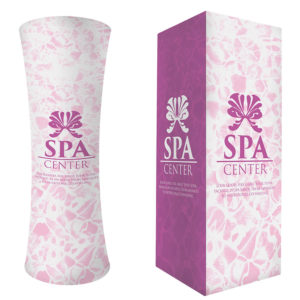
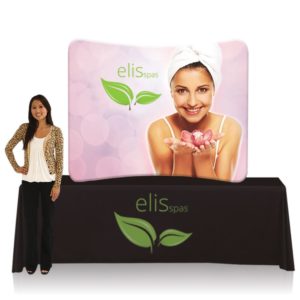
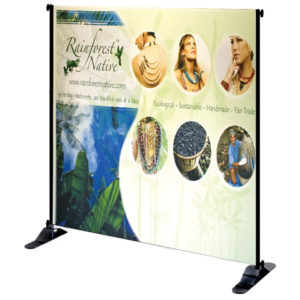
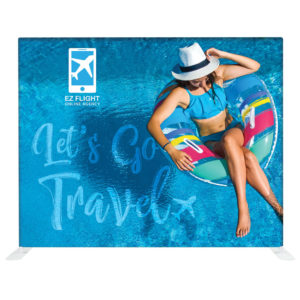
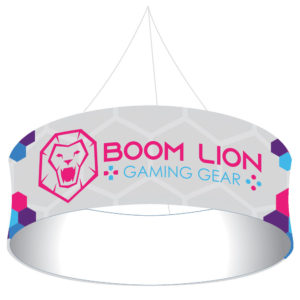
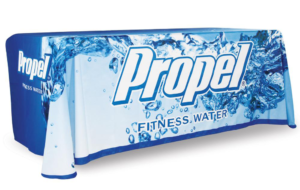
The following are what we have done for our customer’s pop up displays as examples.
Examples And Time Used*
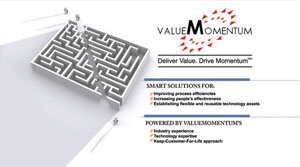
Express 1-2 Hours Design
Vector-based/hi-res graphics
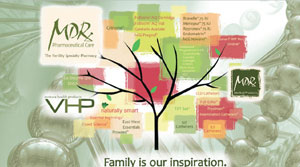
Custom Design (3-4 Hours)
Layout & Typesetting
Simple photo editing (includes cropping & color adjusting)
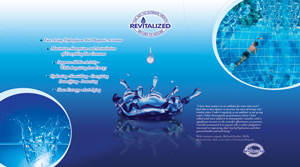
Custom Design (5-7 Hours)
Photo editing (includes cropping, color adjusting, & cloning.)
Creating vector elements

Custom Design (8-11 Hours)
Photo editing (includes cropping, color adjusting, & cloning.)
15+ photos used (must be provided by customer)
Complex layered design
*Customer must supply as many images, verbiage and vector-based graphics (logo, image, & text) as possible.
Photoshop Users
Whether you use our templates or you create your own document, please make sure the dimension of your file is the exact size of the finished size.
Image Resolution
Photos and graphics need to be 125 DPI at full size
In Photoshop, you can go to
- IMAGE
- IMAGE SIZE
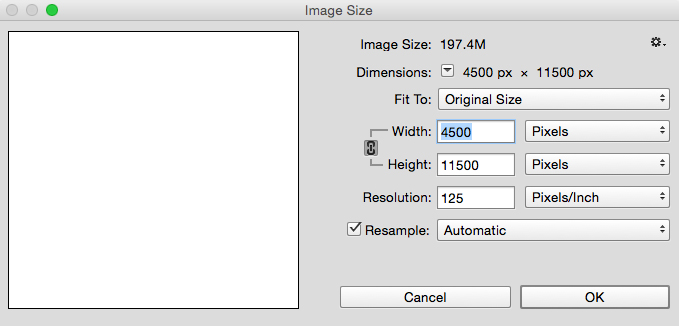
to find out your file resolution.
Determine Image Quality From Source
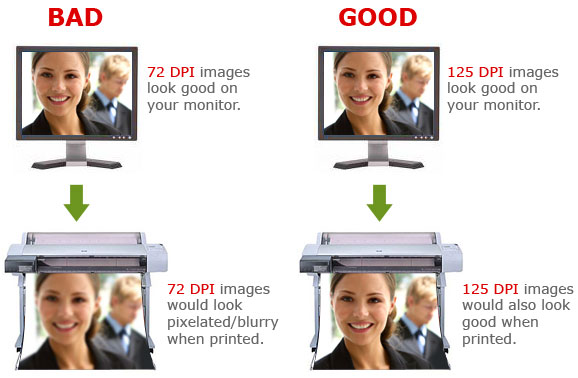
Why 125 DPI?
Since your banner will be a large format print, you don’t need to prepare your file in 300 DPI which is usually used for smaller format print.
If you are uncertain of the quality of your images, please call us at 800.640.9544 or email us at info@wsdisplay.com
Color Mode
Your file has to be in CMYK mode. You can go to Image > Mode > CMYK to view the setting.
Regular Black / Rich Black
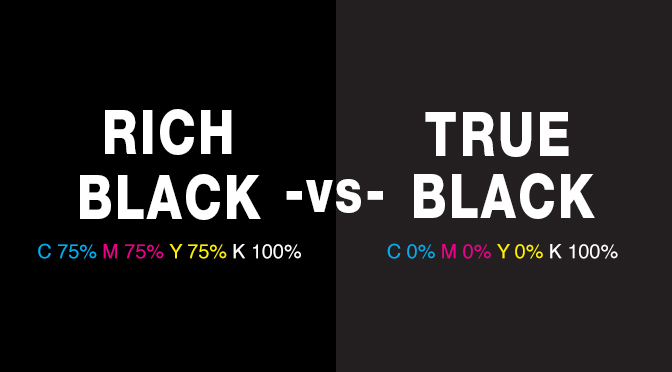
If you have ever had problems getting a nice deep black printed, you are not the only one. When designing your art, if you have your standard black color set to C 0%, M 0%, Y 0%, K 100% your black may come off a little different than expected. It will loose its richness and not be dark black.
To get a regular (true) rich black use the following:
C 75%, M 75%Y 75%,K 100%
Illustrator Users
Image Resolution
Your images (any graphics that are not vector) need to be 125 DPI at full size.
Determine Image Quality From Source
Good Quality: High resolution/high quality stock photography High resolution/high quality scanner
Low Quality: Screen capture of video frame Low resolution/low quality stock photography Image lifted off a web-page

Why 125 DPI?
Since your banner will be a large format print, you don’t need to prepare your file in 300 DPI which is usallly used for smaller format print.
If you are uncertain of the quatlity of your images, please call us at 800.640.9544 or email us at info@wsdisplay.com
Color Mode
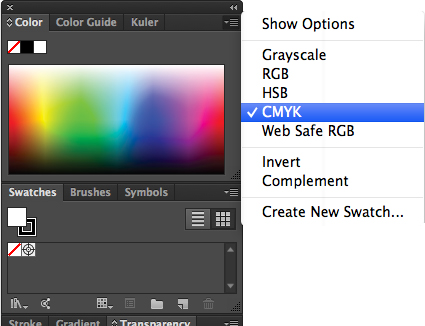
Your file has to be in CMYK mode.
Fonts
Convert all your text outlined.
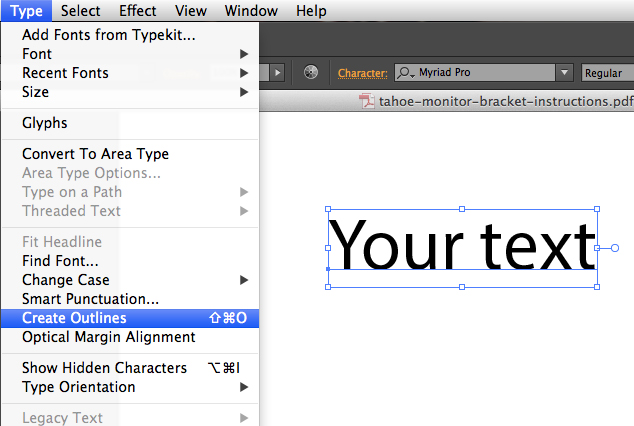
*If your text are not created outlined, font shift might occur.
Saving
When you are done with the design, save the file in EPS format.
If you have extra graphics outside of the finished size area, create a crop area with the exact size of finishing size before saving.
If you need our graphic designers to modify your art work, send us your original Illustrator file(s).
(Graphic modification – $65 per hour. Please call for estimated time.)
You Are Amost Done!
Before you upload the file(s) to us, open the EPS file you just saved.
Review all the graphics/text and make sure the dimension is right.
If you are satisfied with what you see, please UPLOAD FILES with your contact and order information.
Regular Black / Rich Black

If you have ever had problems getting a nice deep black printed, you are not the only one. When designing your art, if you have your standard black color set to C 0%, M 0%, Y 0%, K 100% your black may come off a little different than expected. It will loose its richness and not be dark black.
To get a regular (true) rich black use the following:
C 75%, M 75%Y 75%,K 100%
